
I do most of my kayaking alone on area waterways. As I have gotten older, I have been concerned about the strength needed to wrestle my kayak up onto the roof rack of my car. When I was in my 40s and 50s, I just heaved the kayak up through brute force, and that wasn’t much of a problem. Of course, its also an easy way to throw a person’s back out, and I have had my share of painful and enduring back pain. As I passed the midpoint of my 60s, I wondered how long I would be able to continue hauling my kayak around, especially by myself.
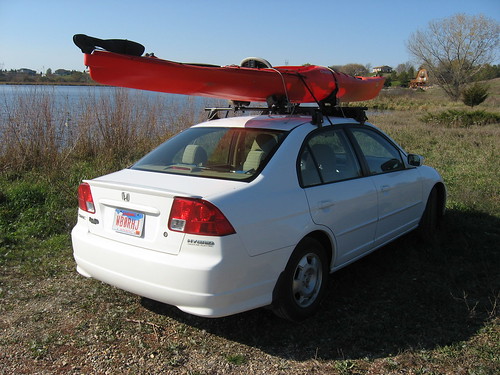
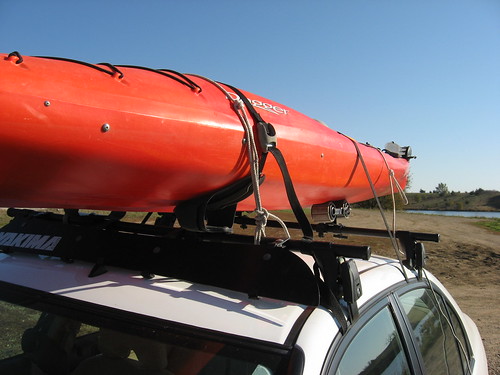
Right after buying my first rigid kayak, I purchased a Yakama roof rack. The rack has special kayak attachments that include a cradle at the front of the rack into which the kayak slips. At the rear, I have a set of rollers that enables me to slide the kayak up onto the rack. For a long time, when alone, I still heaved the kayak up over the side of the car onto the rack. One day, though, I talked with Dick Davidson, the long time president of the South Dakota Canoe Association and a great arctic adventurer, about how he managed to get his big decked Loon canoe onto his roof rack. He told me that in younger days, he used to just heave the canoe up and onto the rack, much as I used to do; as got he older, however, he began using an old burlap bag to drape over the trunk of the car so that he could slide the canoe up onto his rack.
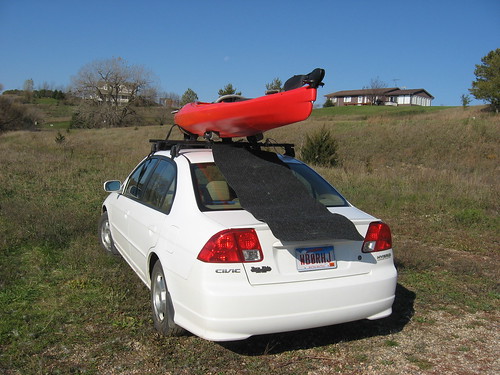
Well, I thought that this would be a good adaptation for me to try. I went to one of the big hardware stores and bought a 3 x 5 foot rubber backed floor mat that I could easily roll up and put in my trunk. It cost me less than $10.00. I also found that the hardest part about carrying the 58 lbs. kayak from the car to the water’s edge was the pain in my hands from the rim of the cockpit. So, I also got a pair of gloves to keep in the trunk and to use for carrying the kayak.
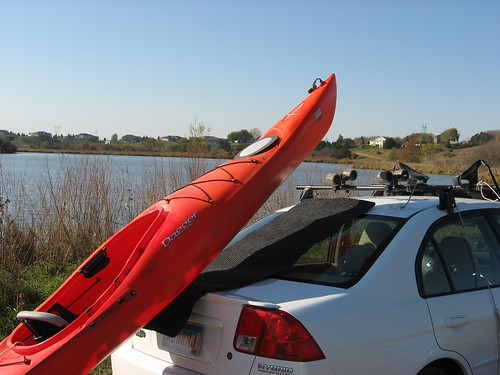
My method for loading the kayak is now to first get the straps for the roof rack ready and lay out the mat along the top of the trunk. I then, with gloves, carry the kayak out to the rear of the car and lift the bow up onto the mat. I can then just slide the kayak on the mat onto the rollers and push it up into the cradle. I then use the two straps that came with the rack to secure the kayak. Being cautious, however, I also have two rope lines that I use in addition to secure the kayak onto the rack. One end of the line is secured to one side of the rack, and I have a loop at the other end that I use to secure to the other side. So, there are really four attachments: two straps and two rope lines. One of my straps goes through the car above the rear windows so that the rack itself has an additional anchor to the roof itself. Even with all this, though, I am sometimes hesitant to drive on the Interstate for fear that the suction from a passing semi will jerk the kayak off. Over time, I have grown more confident that the kayak is securely fastened to the roof; still, though, I usually travel on secondary roads to my kayaking haunts.
There are some alternatives to using a roof rack on the car. I do have a Folbot, a fabric covered collapsible 12-foot kayak, and that company makes a full line of really nice boats that can be transported in one or two bags and carried in the trunk or back seat of the car. I like this craft, but it is quite expensive. I have toyed around with the idea of getting the larger tandem model, especially as I get older. I have also seen trailers made especially for transporting kayaks and canoes advertised in magazines. There is also a company in Hull, Iowa, that makes such trailers and will customize one to meet the needs of a customer: one kayak, two, or more. I like the idea of a trailer, but I don’t like the idea of storing another piece of gear around my house. I don’t want to dedicate the garage to kayak gear and leave the car in the driveway. Or, perhaps, it is my wife who doesn’t want to see the garage used in that way or to see a trailer left on the lawn alongside the driveway all summer.
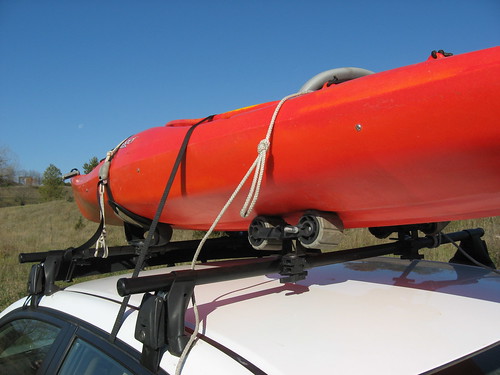
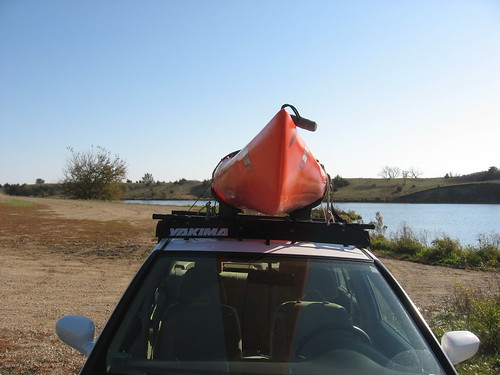
For now, I will keep using the roof rack as illustrated in these photos and find adaptations to accommodate my journey into geezerhood. I think that the next adaptation will be a wheeled contraption that will allow me to lift the kayak and just roll the it to the water’s edge, and such a device is readily available for under $100.